Showing posts with label Dies. Show all posts

Thursday, July 11, 2019

It's Just One of Those Cards....

Hi guys,

So I'm back today with "Just one of those cards!" and what I mean by that is I just love it..and it's one of those that I could make again and again...

Its a masculine Christmas card... but it just has a certain something... Ok I'll let you judge for yourself..


It wasn't hard to do, but it just has a certain something about it... so I've die cut a stitched panel out of gold and Kaisercraft paper from the Christmas edition pad, and then I've used a Stitched Hillside Borders by Lawn Fawn.

I stamped the sentiment from the Sweet Little Sentiments by Clearly Besotted.  

Two tags from a nesting set, one in black and one in Vellum (sshhh it's actually wedding vellum but you can't see the hearts)

The foliage die cuts are from Stampin Up and some I had in my stash and the Stags head was a free stamp and die set but any would do and that's all there is to it!

I think it's a great masculine Christmas card, this arrangement but a different image would also work for a feminine card too! (I'll let you know when I've done one LOL)


I'm going to enter this into a couple of challenges :-

Cute N Crafty Christmas - Challenge 15

Thanks for stopping by, hopefully I've given you some Christmas Inspiration ho ho ho,
hugs
XoX

Monday, June 24, 2019

Make my Monday #99 - Begins with letter B

Happy Monday to you all, and that means it's challenge time again over on the Make my Monday blog! Amy is our lovely host of this challenge.

This challenge is  - begins with the letter B...  Well I thought of a few things that begin with the letter B... Blue Sky ( I'm missing that at the moment as it's winter here in Melbourne) Birds, Butterflies and a Bike... so I've incorporated all of that into my DT card!


Apart from the background everything else is dies, I haven't played much with my dies lately and it was really rather fun to get them out again and play!

The background is MFT cloud and Radiating Rays stencil, and the sentiment is also MFT from the Full of Sunshine set.
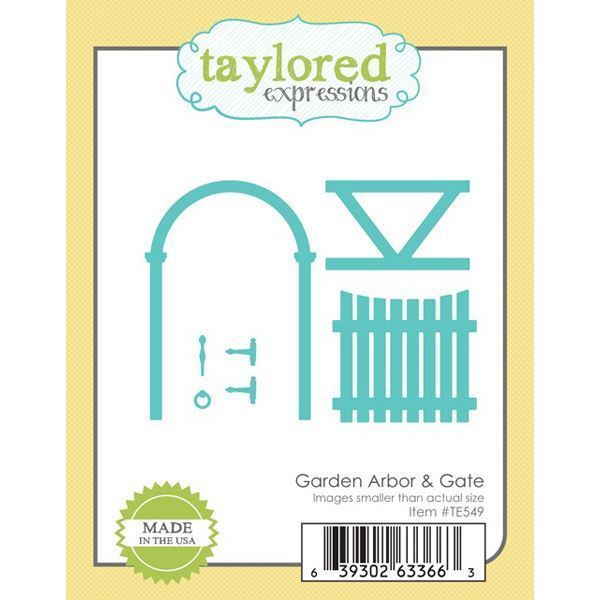
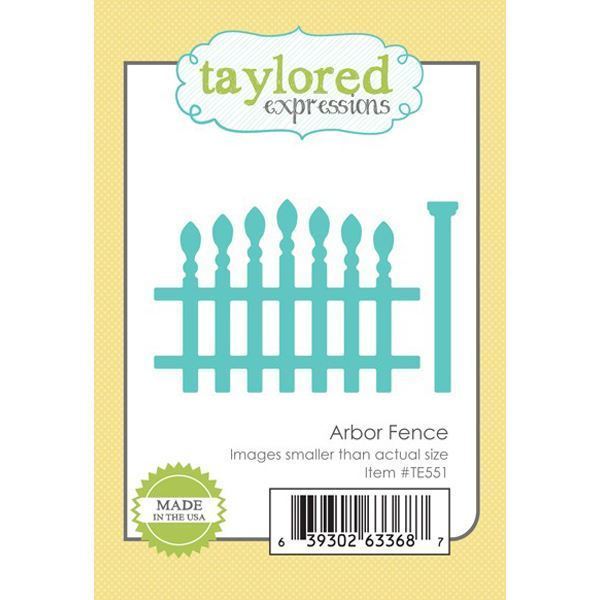
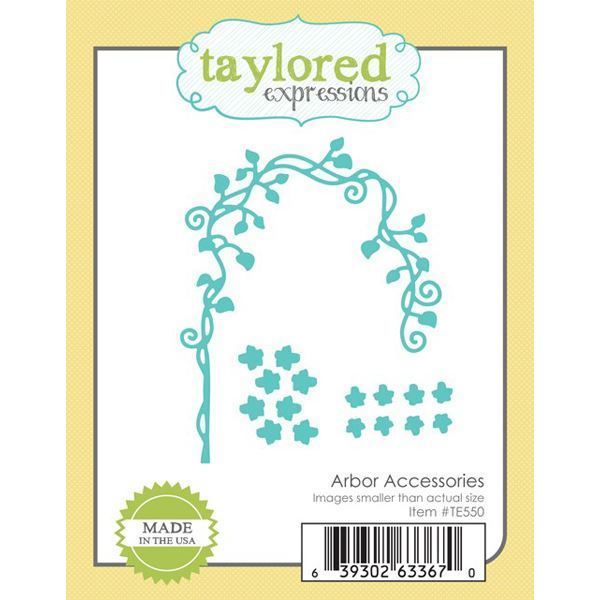
The first strip of grass, the tiny birds are also by MFT, the butterflies are by SSS, and the fence, gate and arbour are all by Taylored Expressions. The second strip of grass a Lawn Fawn die, and the bike I'm not sure on as I've lost my packaging for that..

I coloured the bike with Copics and then went over it with nuvo mousse to give it a bit of shine, and added a few black pearls.  The fence, gate and arbour I ran through an embossing folder to give it a bit of dimension!

Hope you like the card, and hopefully you'll come and join us at Make My Monday! Here's a couple more photo's!


Thanks for stopping by!

Hugs
Alli
XoX


MFT Cloud Stencil
MFT Cloud Stencil
Shop at:
SSS | MFT
MFT Rays Stencil
MFT Rays Stencil
Shop at:
SSS | MFT
Lawn Fawn Grass Die
Lawn Fawn Grass Die
Shop at:
SSS
MFT Full of Sunshine
Shop at:
Auzz | SSS | MFT
Garden Arbour
Garden Arbour
Shop at:
CC
Garden Fence
Garden Fence
Shop at:
CC
Arbour Accessories
Arbour Accessories
Shop at:
CC
Butterflies
Butterflies
Shop at:
SSS

Friday, May 3, 2019

Altenew - For the Guys

My last AECP class for today was all about Masculine cards... I know some people struggle with this...especially if they don't know the recipient...are they in to sports? gaming ?fishing???

After watching all the video's in today's lesson I had a few ideas, and I would recommend that you take this class if you struggle with masculine cards.

I actually needed a card for next week for a teenage boy, he is in to gaming, but I didn't have an Altenew gaming stamp set and I'm sure he really wouldn't appreciate a flower one...haha

I knew that somewhere in my stash of ever expanding craft supplies that I had the Altenew shattered triangle die set...after hunting it down I played with different ideas and I finally came up with this..


I die cut the triangles from off cuts of white card stock and put them aside, while I concentrated on the background.

In a previous lesson, I recalled a Bokeh background, I set to work to try and create a rough inked background using 4 colours, I knew that it didn't have to be a perfect blend as I was going to go over it with white distress ink circles (the Bokeh part). The trick to Bokeh is to make sure your circles vary in size and some overlap..and to keep checking on what you've created by lifting up your template.
I have in the past made my own template from a piece of acetate and different size circle dies and punches. (Altenew do have a stamp and bubble stencil that will work too)

It worked and the rough blends had now dissapeared into a lovely Bokeh background.

Now remember this card is for a boy and sequins are a no no...but a strip of silver glitter paper screams birthday/celebration/party to me! I'd cut a small strip off the Bokeh background and glued it down and I left a really narrow gap in between the silver glitter paper and the other part of the background.

All that was left was to glue the shattered triangles down and make a banner sentiment, this was from the Dotted Blooms stamp set, I've heat embossed it on to some scrap card stock that co-ordinated with the rest of the card.

I liked this card so much, I've decided to enter it into the Simon Says Stamp - Happy Birthday Challenge


Well that's it from me, thanks for popping in to see me, Hope you have a lovely weekend, and I'll catch you next week!

Hugs
Alli
XoX